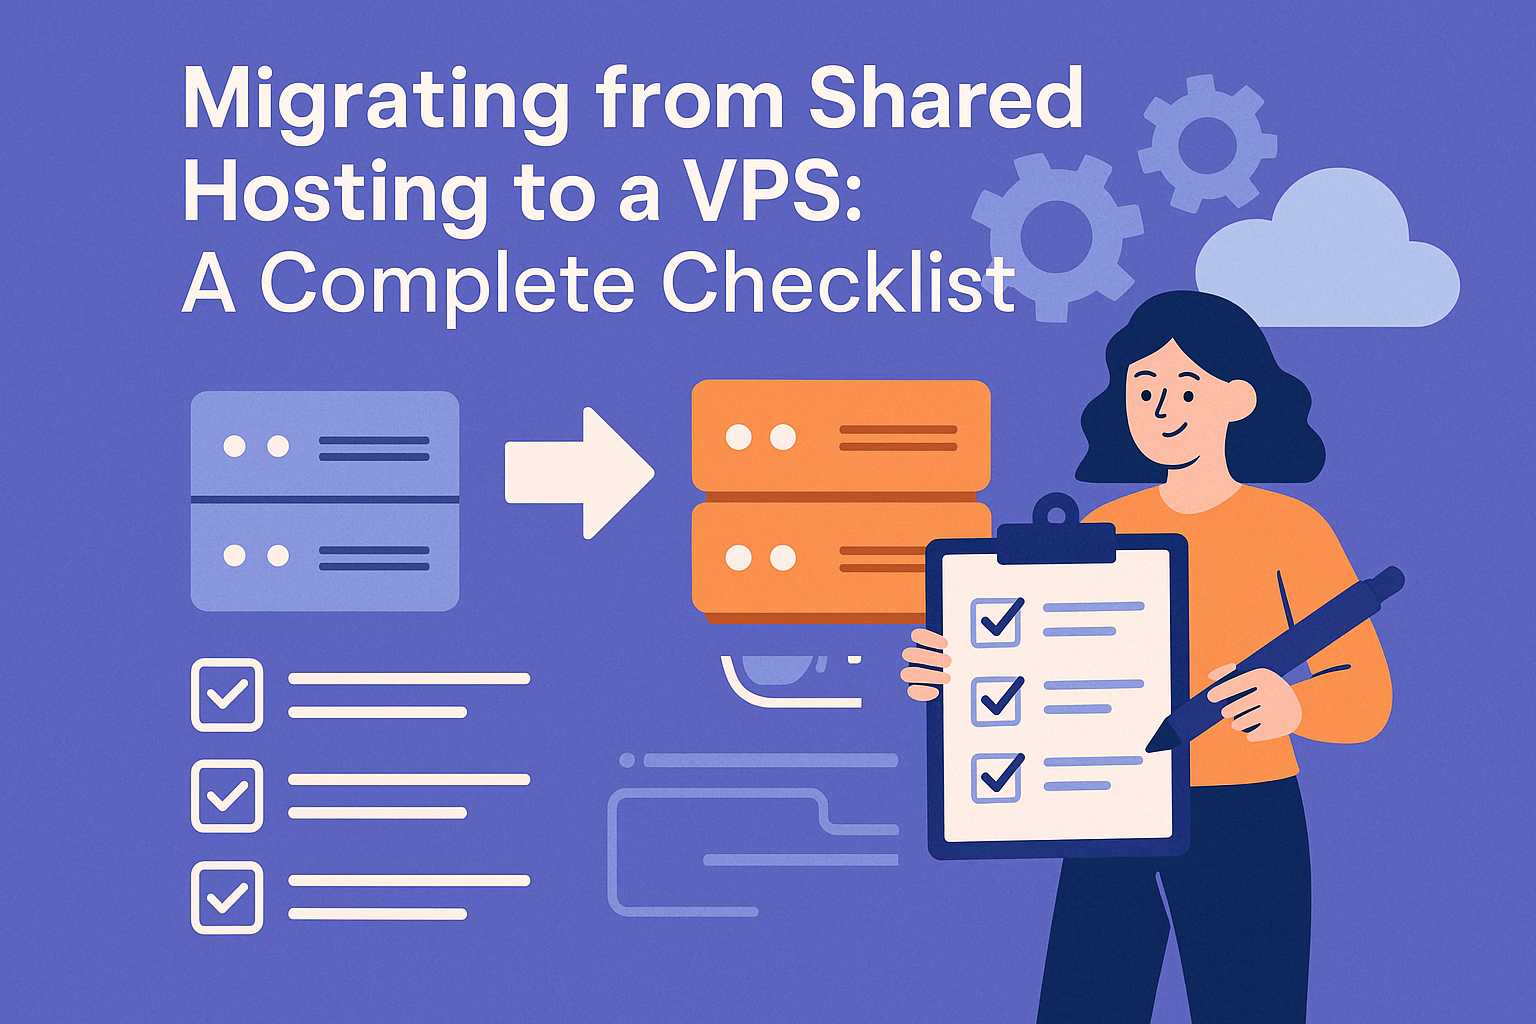

When your website grows beyond the limits of shared hosting, upgrading to a Virtual Private Server (VPS) can be a game-changer. VPS hosting offers more control, better performance, and improved security. However, migrating from shared hosting to a VPS can seem daunting. This blog post will guide you through a complete checklist to ensure a smooth transition.
Why Migrate to VPS?
Before diving into the checklist, let’s quickly explore why VPS hosting is worth considering:
Improved Performance: VPS hosting provides dedicated resources (CPU, RAM, storage) that are not shared with other users.
More Control: With VPS, you get root access, allowing you to configure your server as needed.
Enhanced Security: VPS hosting is more secure than shared hosting because you have isolated resources.
Scalability: VPS allows you to scale your resources easily as your website grows.
Checklist for Migrating from Shared Hosting to VPS
1. Backup Your Data
Before making any changes, ensure you backup all your website files, databases, and configurations. It’s always better to be safe than sorry. Store the backup in a secure location such as cloud storage or an external hard drive.
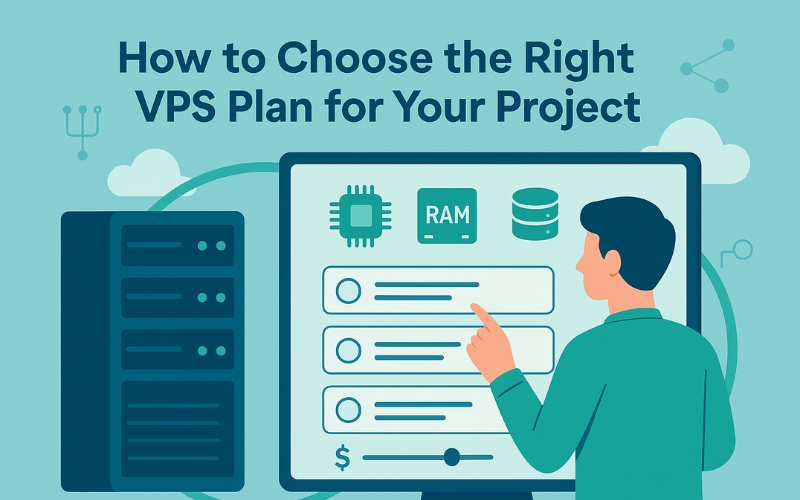
2. Choose the Right VPS Provider
Not all VPS providers are created equal. When selecting a provider, consider factors such as:
Performance: Ensure the VPS offers sufficient resources for your needs.
Support: Opt for a provider with reliable customer support in case issues arise.
Pricing: VPS plans can vary, so find one that fits your budget.
Security Features: Look for VPS plans with security features like firewalls and backups.
3. Install the Necessary Software on Your VPS
Once you’ve set up your VPS, you’ll need to install software like:
Web server (Apache, Nginx, etc.)
PHP, MySQL, and other required software
SSL certificates for secure connections
Firewall and security tools to protect your server
4. Transfer Your Website Files
This is where the actual migration happens. You will need to move your website files from the shared hosting server to your new VPS. You can use FTP/SFTP or a file manager to transfer the files.
5. Migrate Databases
Don’t forget to migrate your databases! This step involves exporting your database from the shared hosting environment and importing it into the new VPS. Make sure you update any database connection settings in your website files if necessary.
6. Update DNS Settings
After migrating your website to the VPS, you’ll need to update your DNS settings to point to the new server’s IP address. This ensures that your domain name is properly connected to the VPS. Note that DNS changes can take up to 48 hours to propagate.
7. Test Your Website
Before making your website live on the VPS, test it thoroughly. Check for broken links, missing files, and any errors that may have occurred during the migration. It’s essential to ensure everything works as expected.
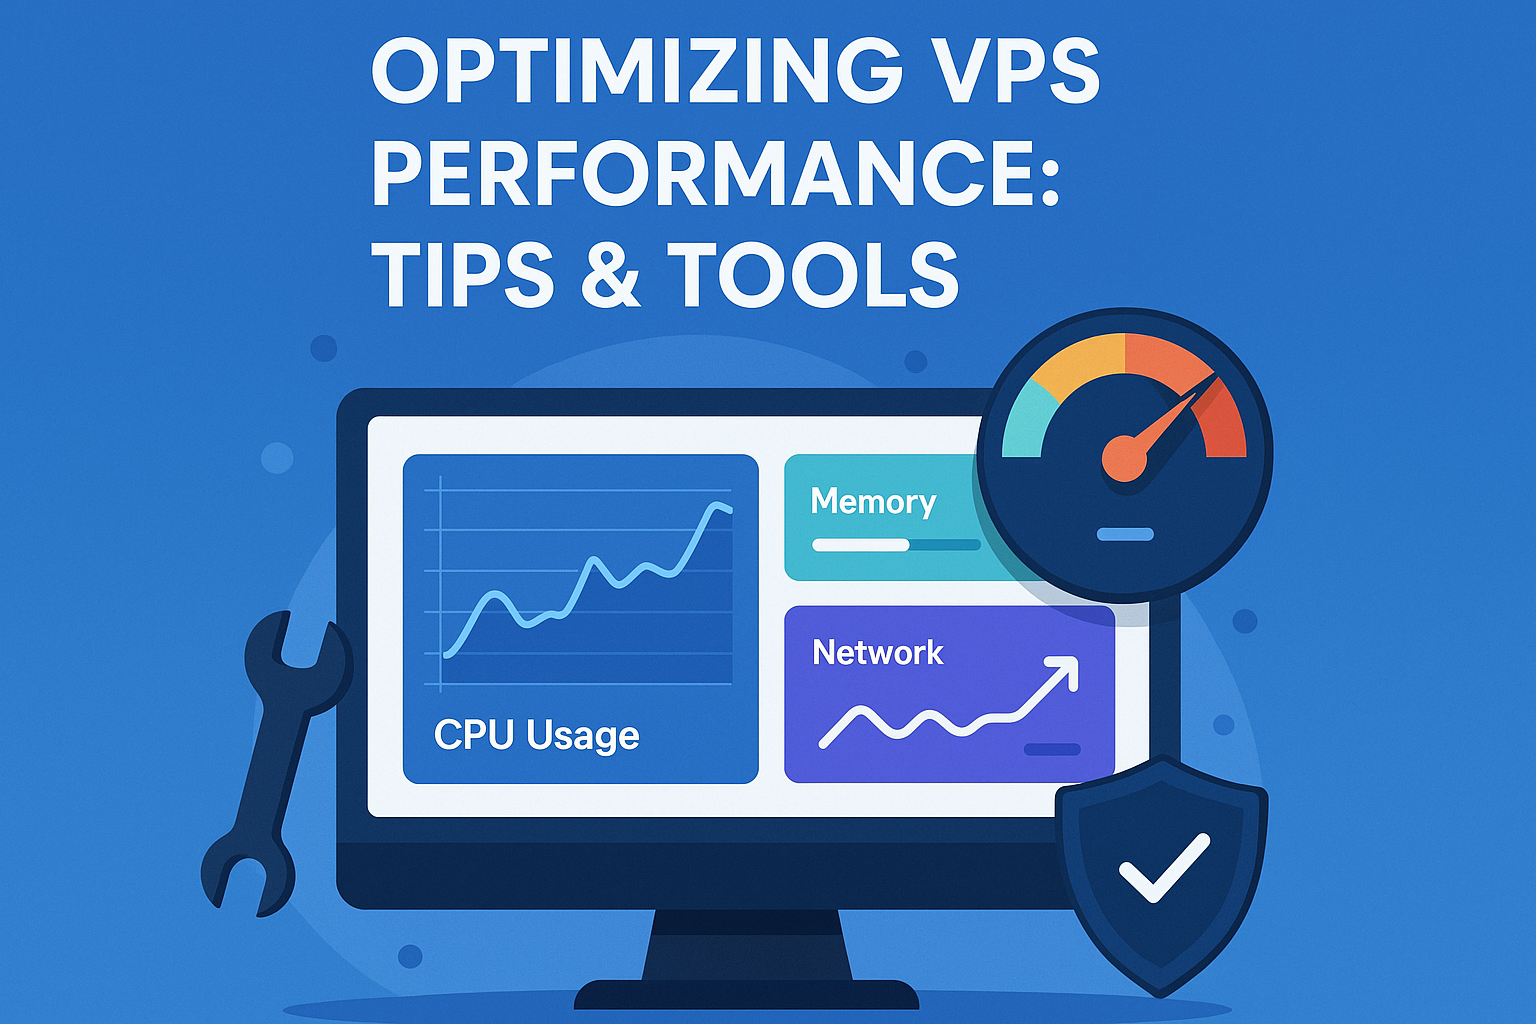
8. Optimize Your VPS
Once the migration is successful, you’ll want to optimize your VPS for better performance. Some tips include:
Enable caching to speed up your website.
Use a Content Delivery Network (CDN) to serve static files faster.
Monitor server resources to avoid overloading the server.
Conclusion
Migrating from shared hosting to a VPS doesn’t have to be a complicated process if you follow the right steps. By following this complete checklist, you can ensure a smooth transition and enjoy the benefits of better performance, increased control, and improved security for your website.
Remember, planning ahead and having a clear migration strategy will minimize potential issues. So, take your time, backup your data, and test thoroughly before going live. Good luck with your migration!